

Disclosure: collaborative post
If your child or children are begging you to do some Christmas Card crafts but you’re not keen on the glitter and the mess, this post is for you. You might get sticky glue fingers but that is the most mess I promise. Glitter gets everywhere and it’s not very environmentally friendly.
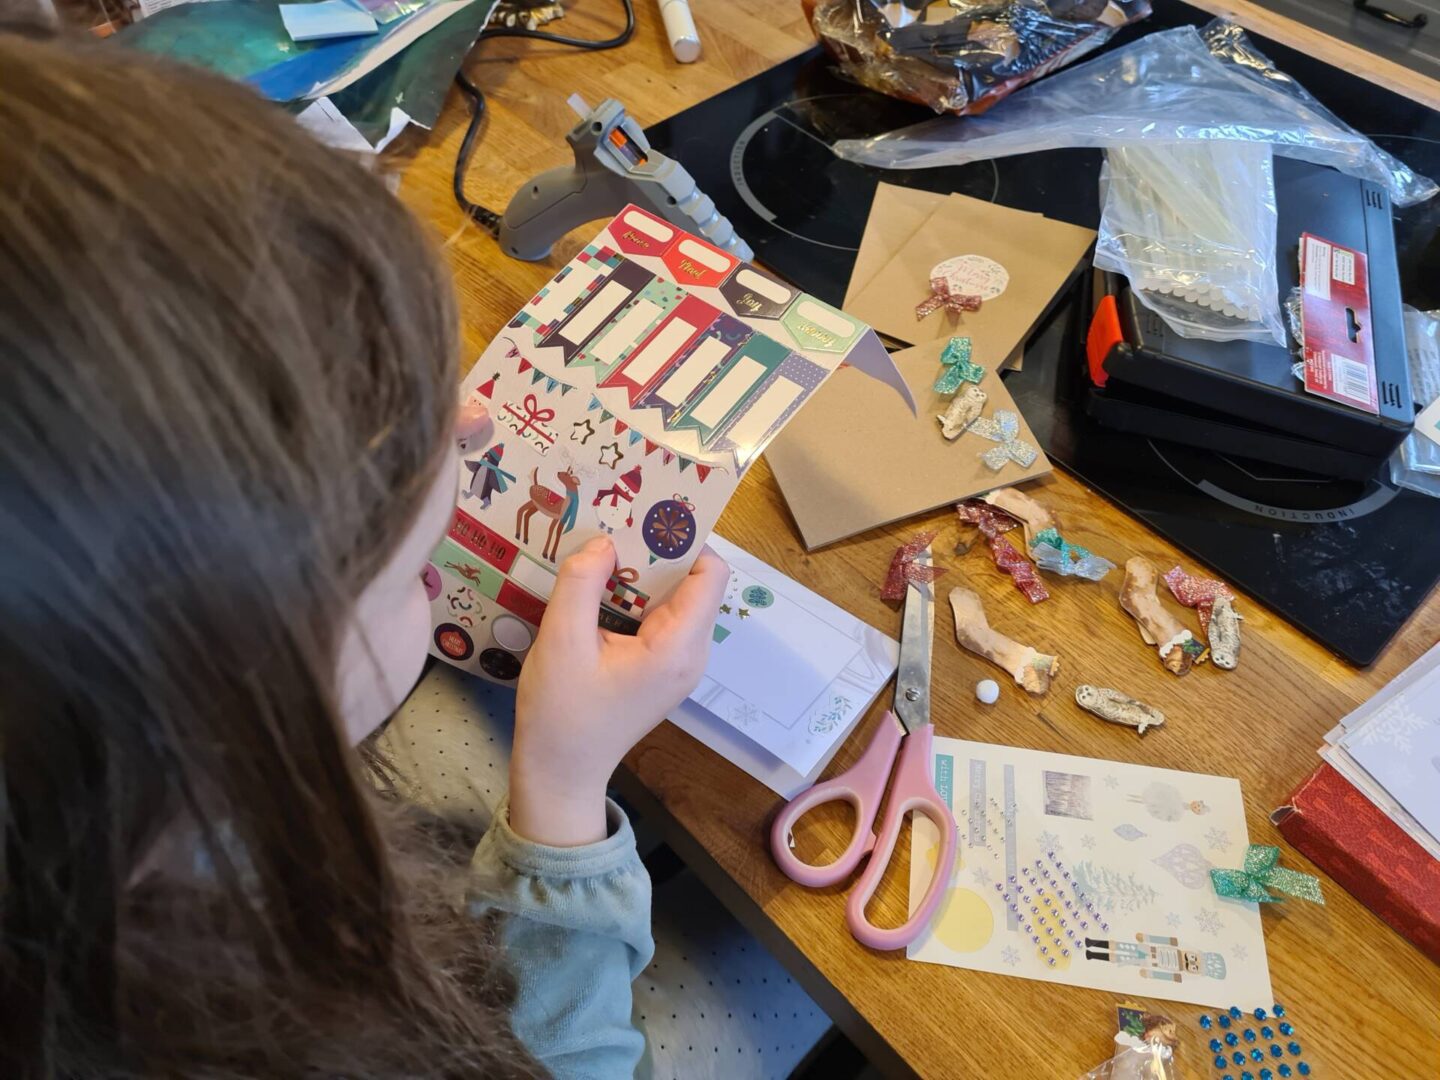
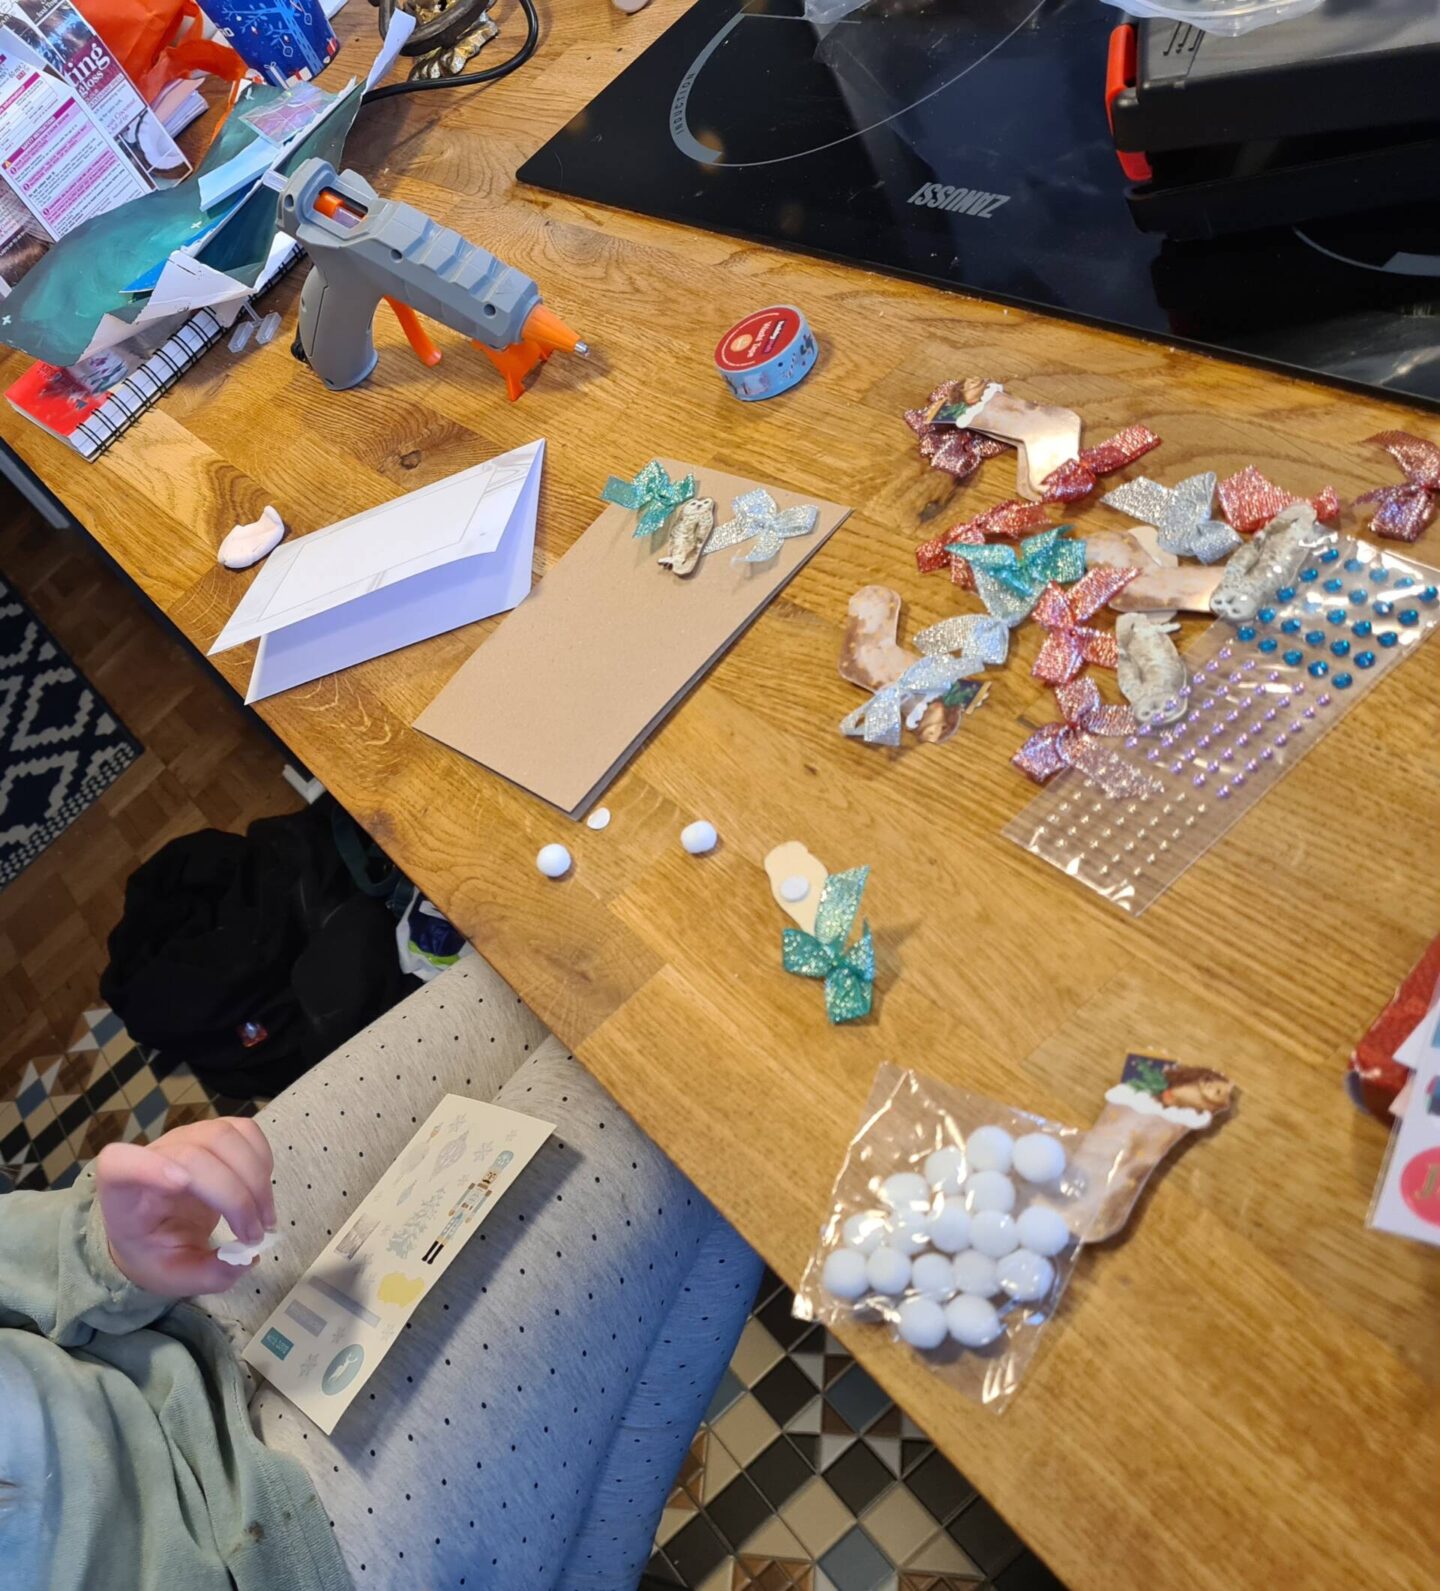
Firstly, get your equipment ready. If you have any washi tape lying around or ribbon, gather any of those bits. You’ll need some cards and envelopes, or you can cheat like I did and buy some card blanks. I got these brown cards and envelope blanks from Hobbycraft. The next things are scissors, a glue stick, and a glue gun if you have it, although it’s not essential. They’re great for gluing things that are more 3D like pom poms, bows, etc. I also like my glue gun for little DIY jobs around the house. Trust me, if you’re on the fence about a glue gun, do it, they’re not that expensive and they’re really fun to use. It also saves many tears when the good old pritt stick isn’t up to the job.
You don’t have to spend much either if anything. You probably have some odds and ends to use around the house. You can also download and use a free font from design bundles to print on paper or card for your designs to give them that extra special feel that makes them different. I am no good at writing calligraphy no matter how hard I try, so this was perfect for me. FYI they’re great for blogging and graphic design too.
Have you got a Cricut machine? That’s next on my list of extravagances to buy, but if you have one you can cut any manner of things for your designs. If not, a plain old printer will do, and as well as fonts they have some free Christmas designs, some of which I used in my designs.
I also got some Christmas card making kits from Hobbycraft, they contain all you need to make the suggested designs based on a theme, or you can freestyle with the elements. I got a snow globe themed kit to make loads of cards on the same theme, they are really pretty. The envelopes are decorated too. Here’s what we made with the snow globe themed kit:
Washi tape Christmas card designs
I really enjoyed working with the washi tape, and I’ll be getting some more designs for other card making and papercraft. It brings quick and easy results, and there are so many ideas and lots of inspiration on Pinterest you will have endless possibilities. I made three different washi tape designs. The first one I tried was this one:
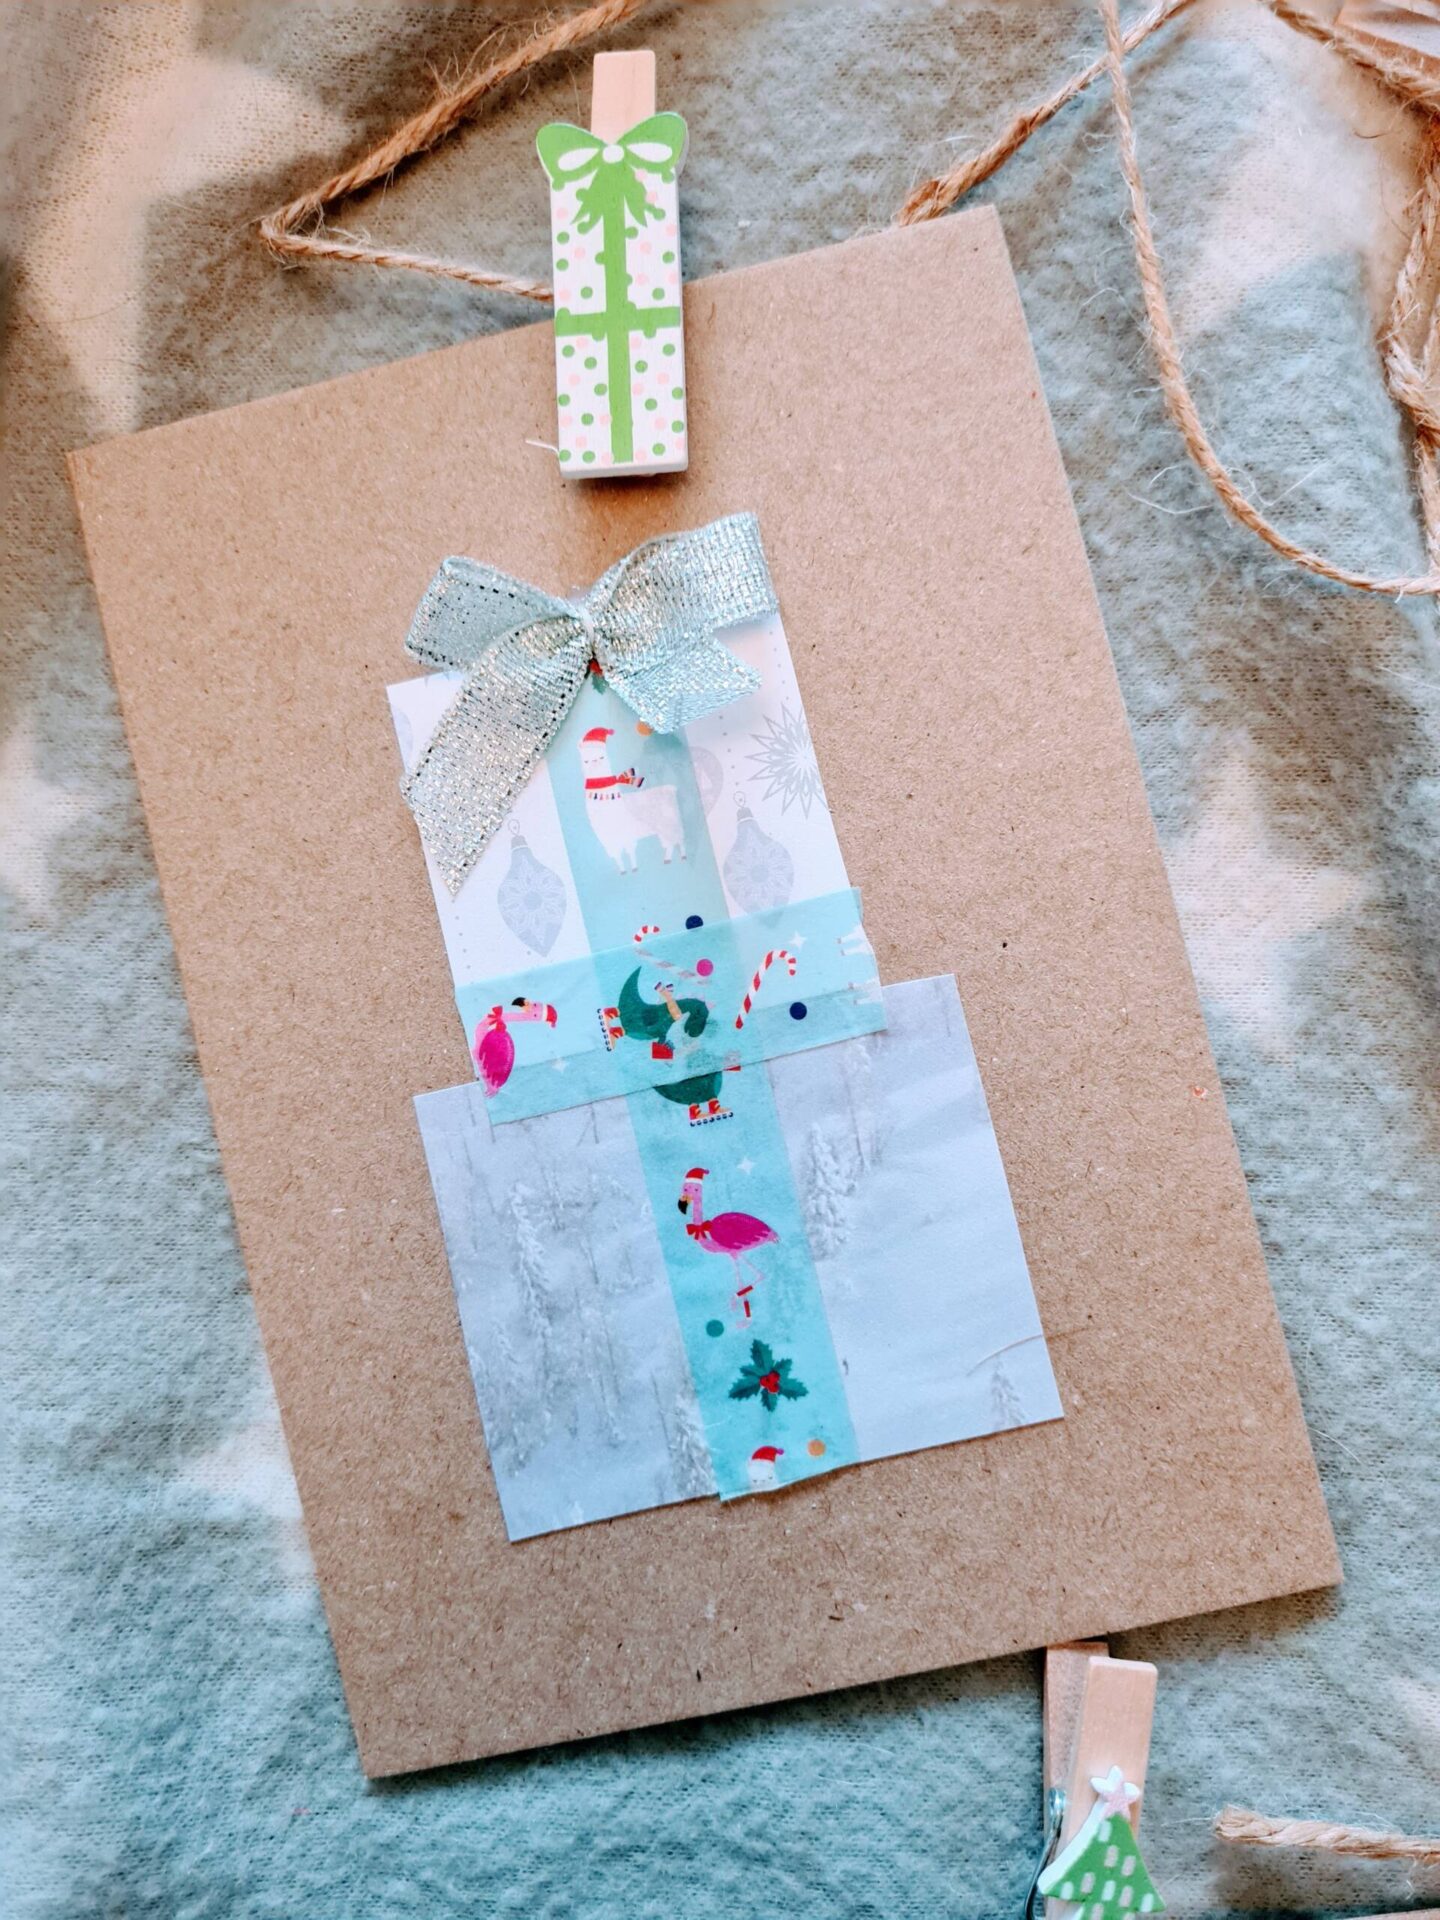
Here’s how to re-create it.
- Cut out two contrasting patterns of card or paper in different sizes
- Stick them to your card blank one on top of the other
- Use the washi tape as the ‘ribbon’ on your presents
- Top with a ready made or hand tied bow
You can add some hand lettering or printed lettering, or leave it blank as I did.
Next up was this cute present design, where the card is the gift:
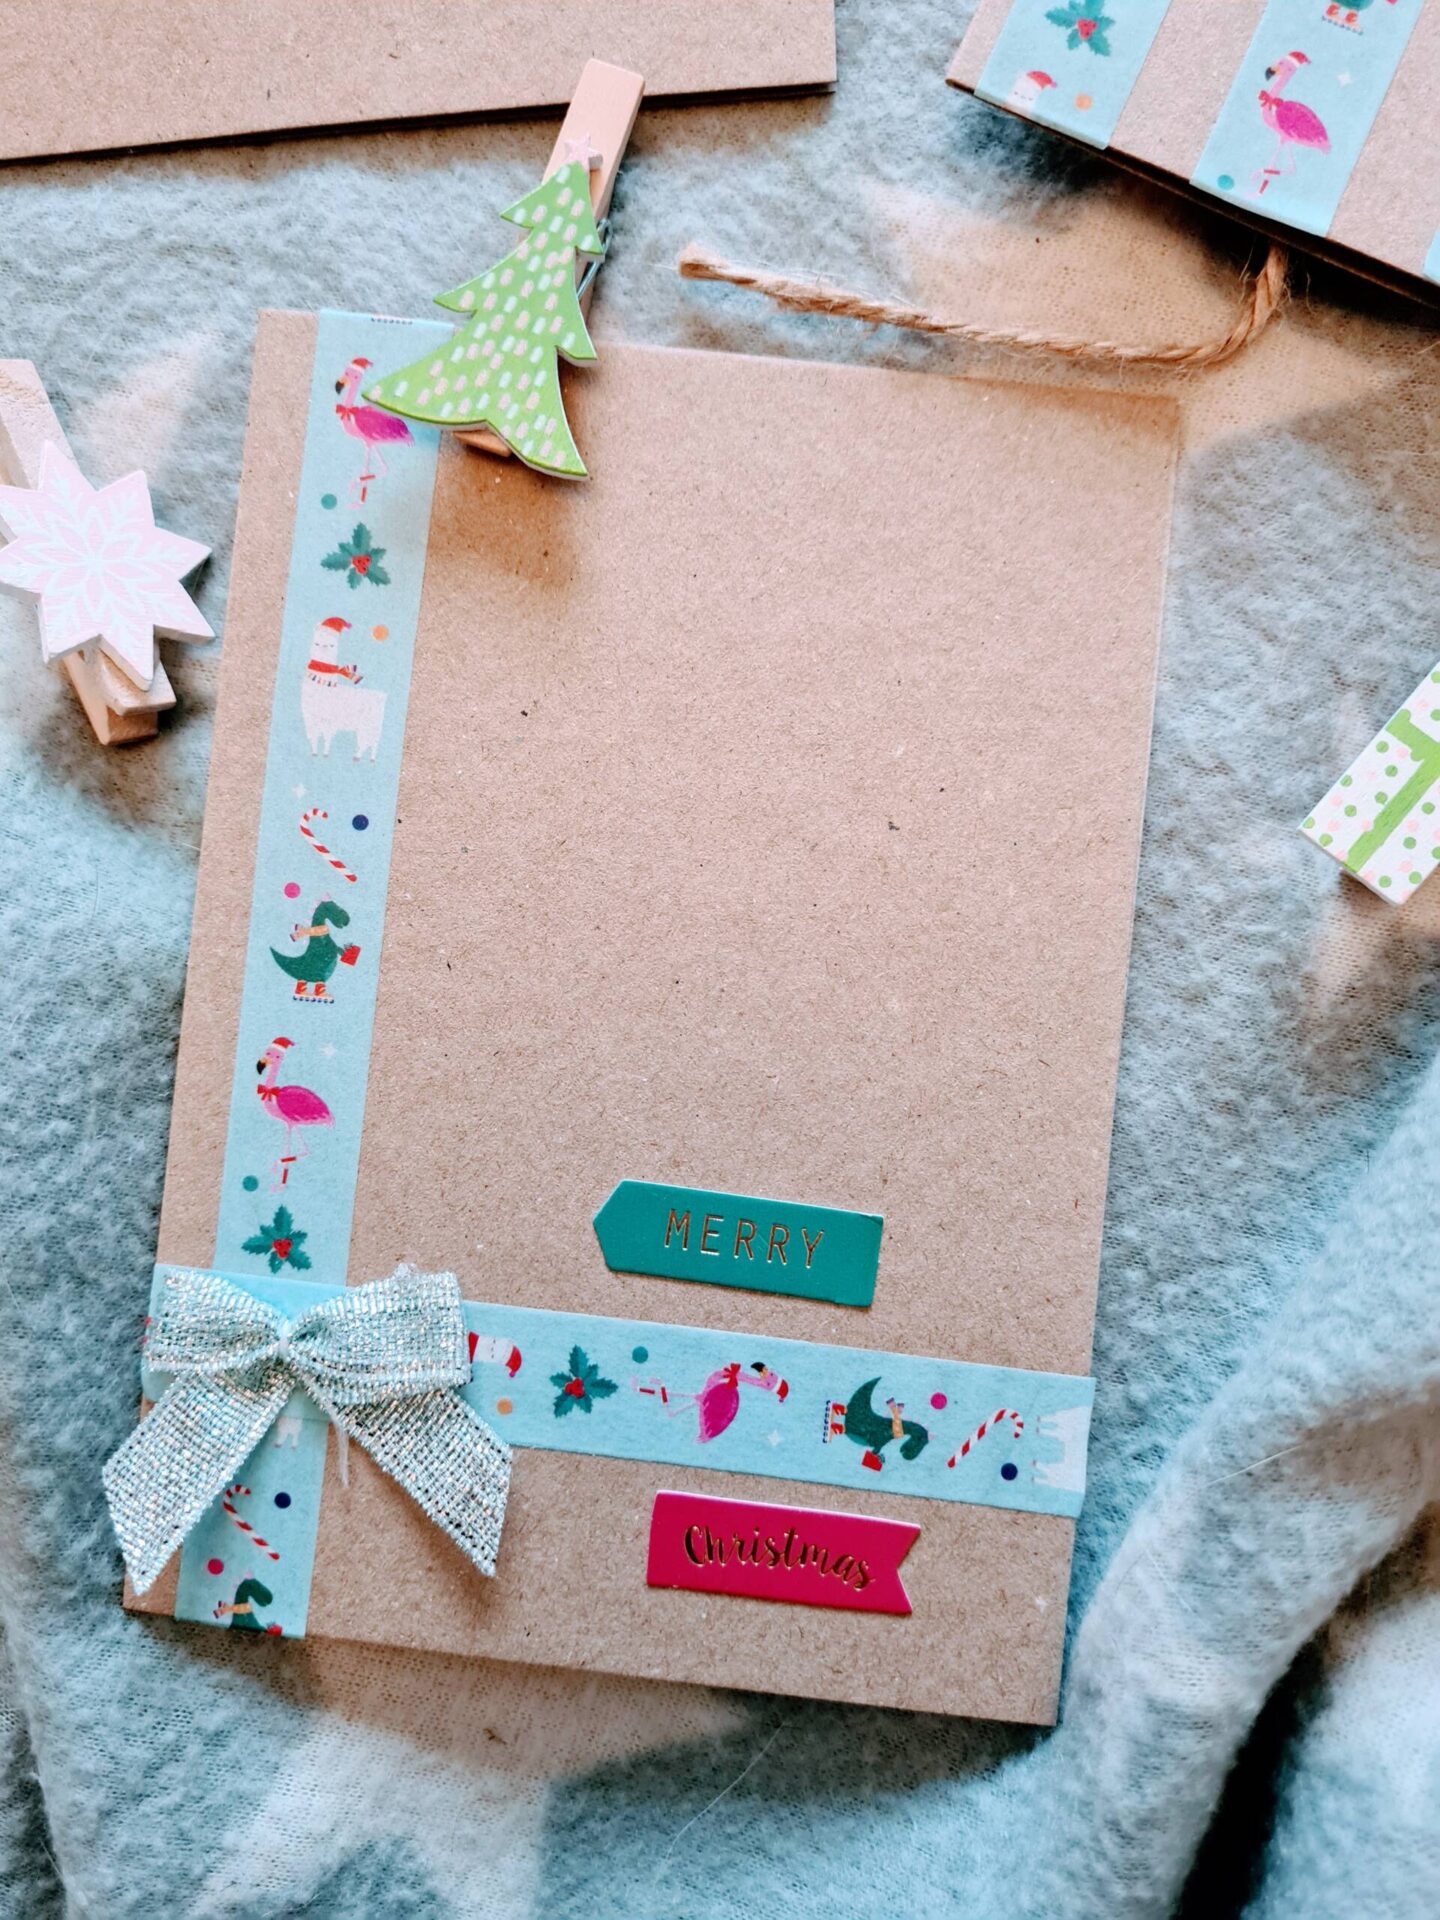
Place your washi tape a little way in from the long edge on the left and then another strip the same distance up from the bottom. Add a bow and some lettering or stickers as I did. Remember you can use different card blanks for different effects.
Lastly I made this washi tape design:
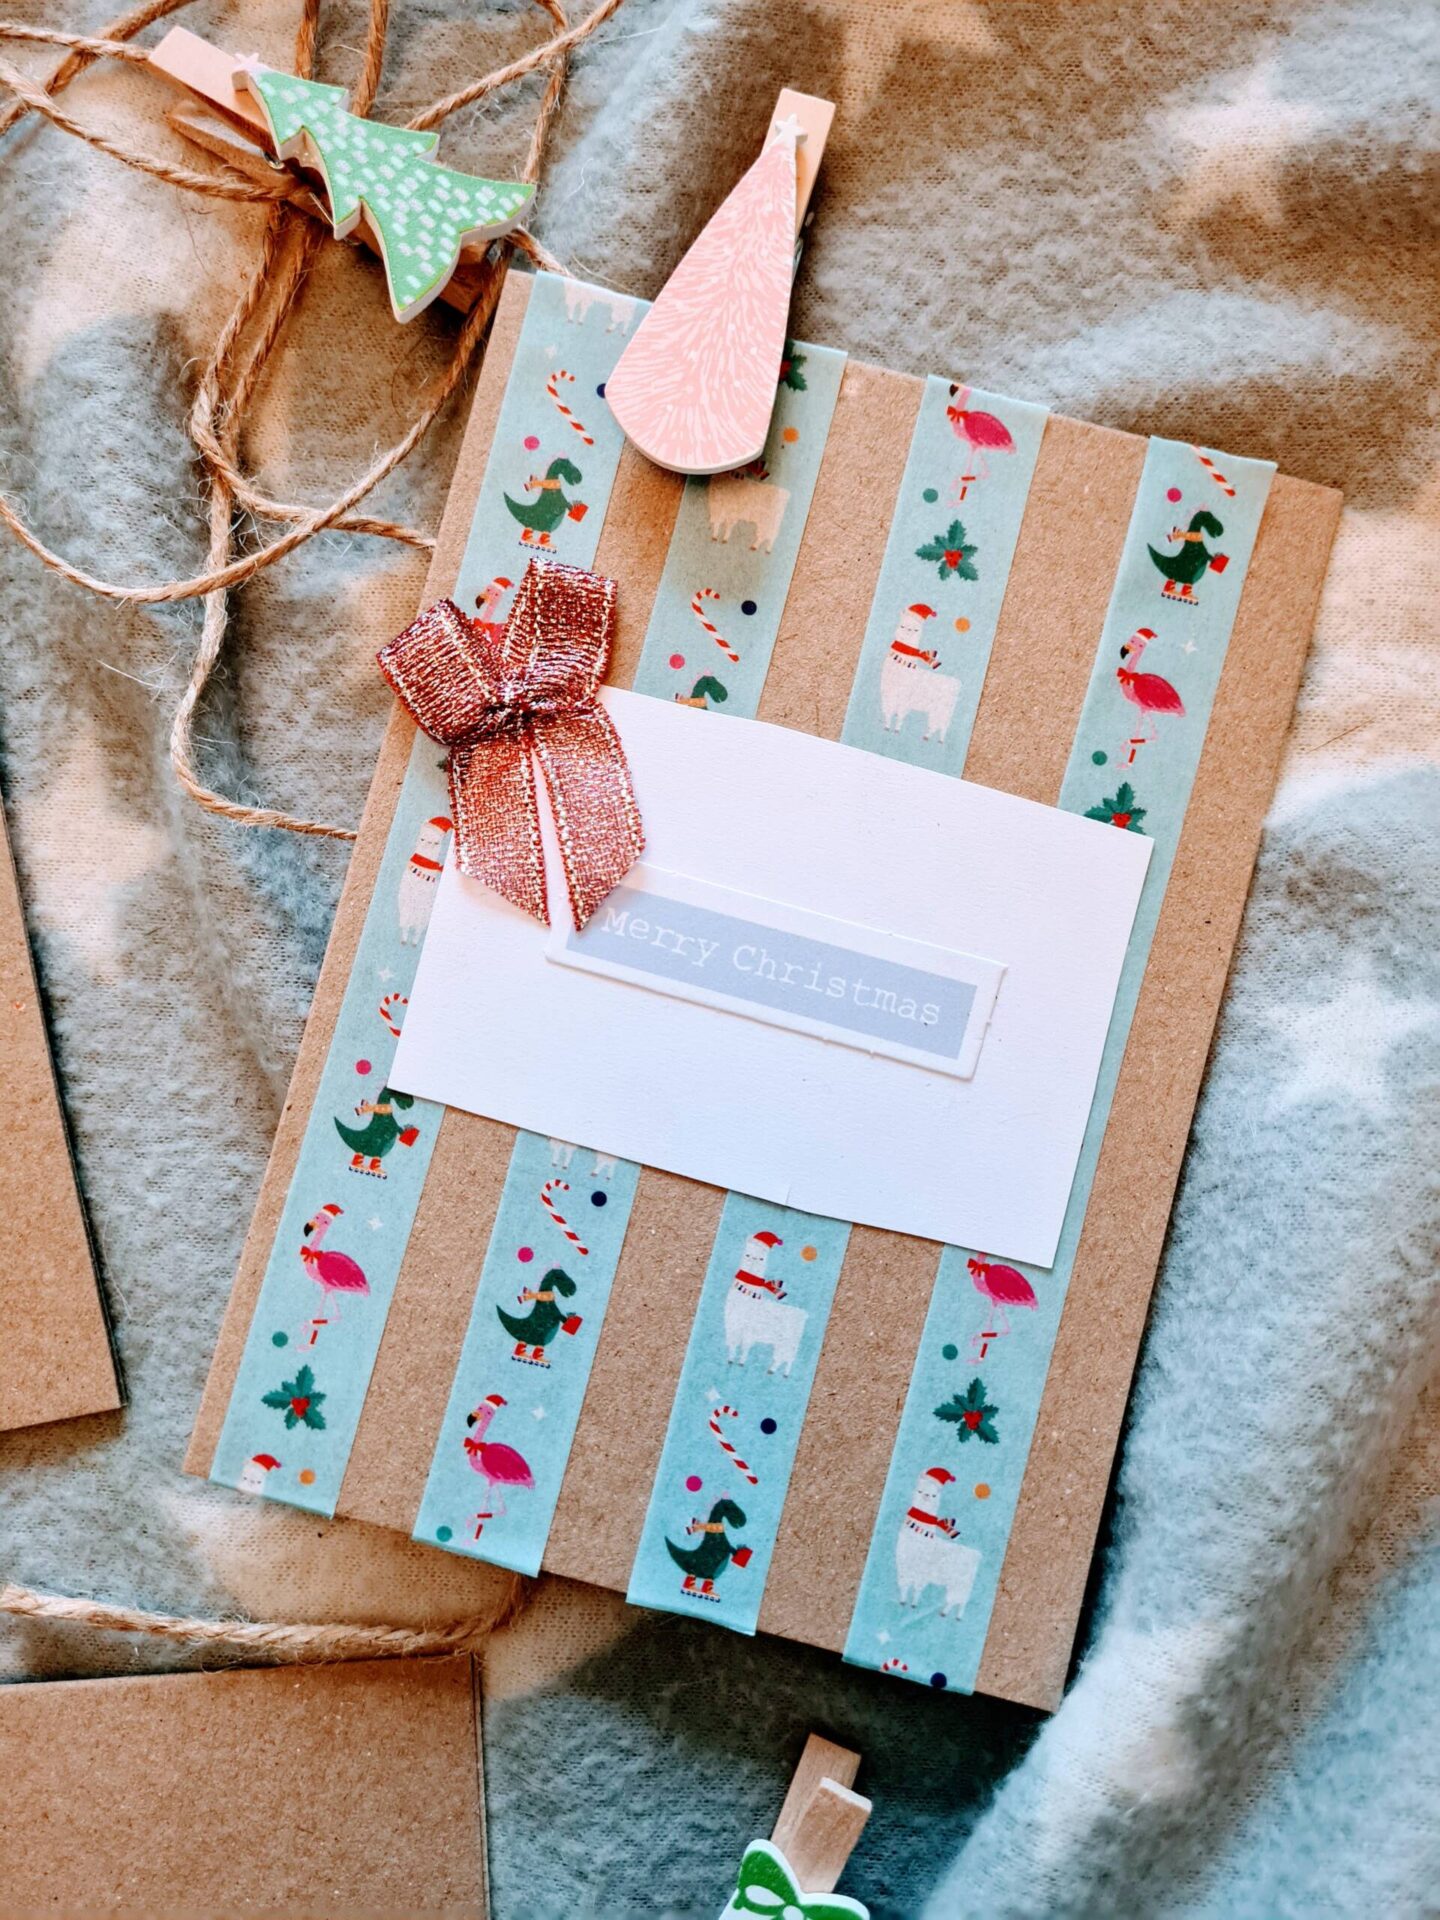
I placed strips of washi tape at regular intervals to make a striped effect. The tape I have depicts Christmas themed animals, I made sure to move the design down an animal each line so it didn’t all look the same. I then cut out a white rectangle of card and a Merry Christmas card piece from my snow globe kit, placed them together with a red organza bow. I love the overall effect.
Keeping it simple
You can go completely overboard and spend hours, or you can save time with the ready-made kits and just keep it simple. I found using this Merry Christmas Wreath I downloaded from Design Bundles, added a simple bow which made a nice pretty design, It’s so easy for kids to do.
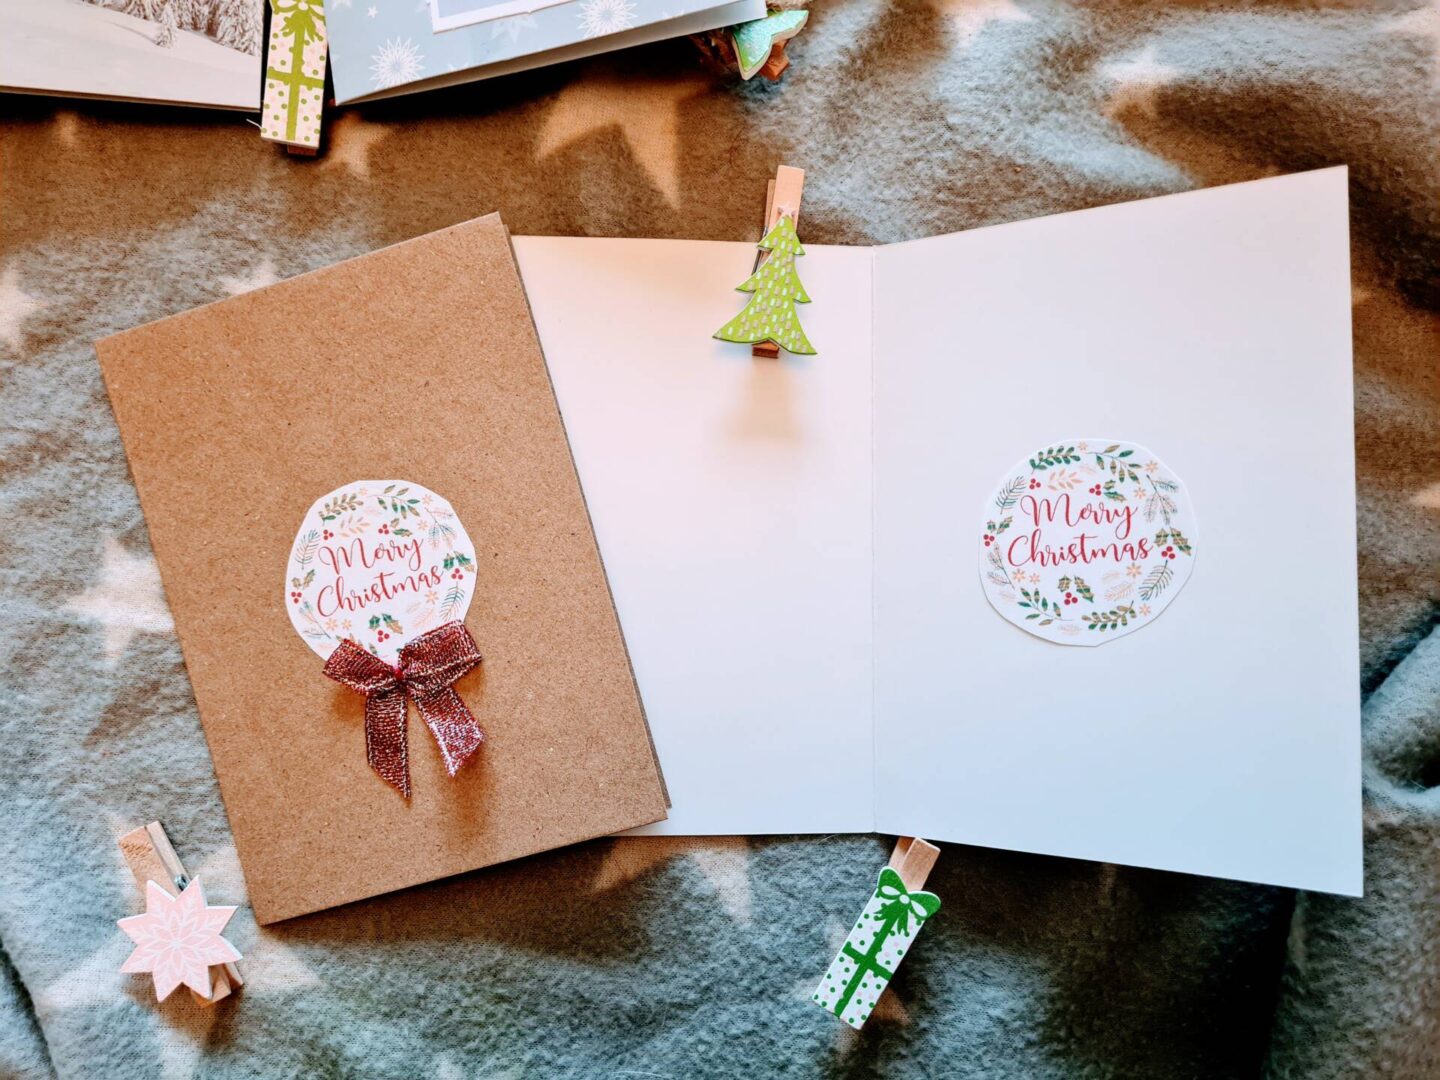
We all had fun doing it together which is the main thing, and whoever you send them to will take such comfort and joy from receiving such a personalised hand made card. Get your children to write in them as a finishing touch. Enjoy crafting!
1 Comment
I wish I’d found this blog earlier!
December 18, 2020 at 11:41 am