
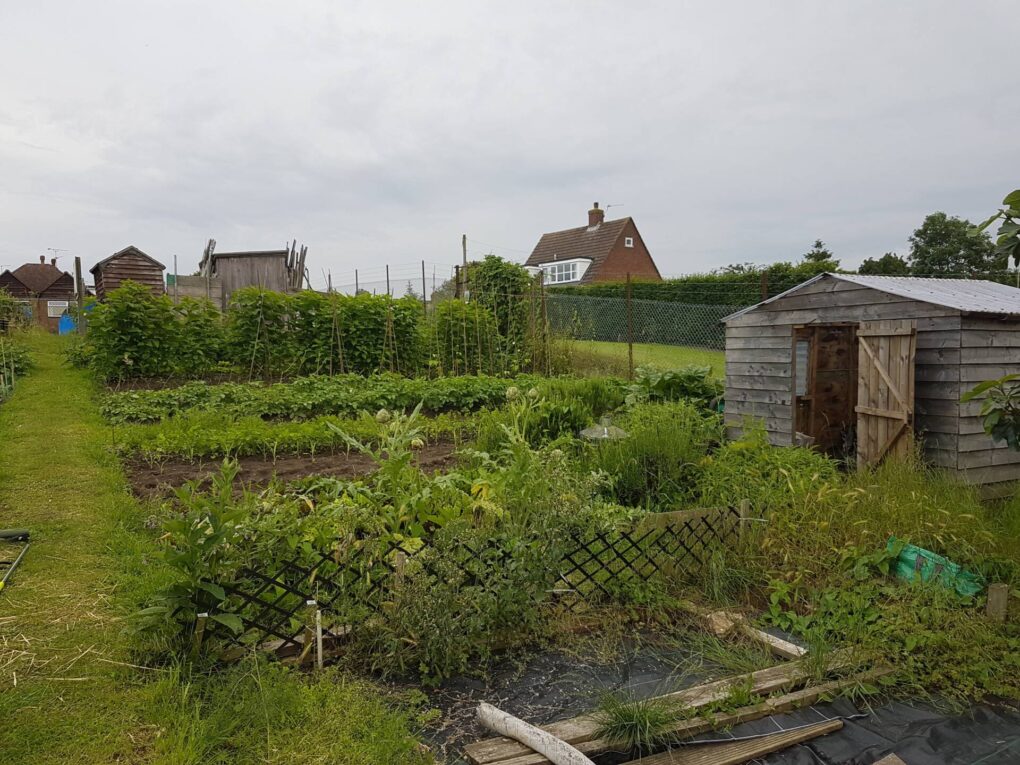
Is your garden shed overflowing with tools, pots, and half-empty bags of soil? You’re not alone. Sheds often become the place where everything gets tossed when we don’t know where else to put it. Before you know it, you’re struggling to find that one tool you desperately need.
But it doesn’t have to stay this way. With a little bit of effort and some simple tips, you can turn your cluttered shed into an organized space where everything is easy to find.
Let’s break it down step by step.
Start by Decluttering: What Stays and What Goes?
The first step is facing the clutter. Go through everything in your shed and decide what to keep, toss, or donate. Ask yourself: Do I use this? If the answer is no and it’s been sitting there for years, it might be time to let it go.
Items that should go:
Broken tools – If you’ve been hanging onto a shovel with a cracked handle, now’s the time to toss it.
Expired garden products – Check the labels on old fertilizers, pesticides, and seeds. If they’re past their prime, they won’t be useful anymore.
Duplicates – You don’t need five spades, no matter how handy they are.
By getting rid of unnecessary items, you’ll free up valuable space and have a much clearer idea of what you’re working with.
Group Items by Category
Once you’ve decluttered, it’s time to start organizing. One of the easiest ways to keep your shed tidy is by grouping similar items together. Think of it like this: you want to create “zones” in your shed.
Consider categories like:
Gardening tools – Keep your spades, shovels, and hand trowels together.
Lawn care supplies – Group your lawnmower, trimmer, and fuel cans.
Plant care products – Store your fertilizers, soil, and pesticides in one spot.
Outdoor gear – Place your gloves, boots, and hats together for easy access.
When everything has a designated zone, it’s much easier to maintain an organized space and avoid future clutter.
Maximize Vertical Space with Shelving
One of the best ways to save space in your shed is by taking advantage of the vertical space. Wall-mounted shelves or racks can make a world of difference.
Install shelves at various heights to store smaller items like pots, gloves, or seed packets. Hooks can also be a great way to hang larger tools like rakes, hoses, or ladders, freeing up floor space.
If you’re worried about heavier items, like bags of soil or large tools, opt for sturdy wall brackets or heavy-duty shelving units. These allow you to keep everything off the ground and still accessible.
Repurpose and Reuse for Shed Organization
Not everything has to be bought brand new. Often, you can repurpose and reuse items for shed organization. Got some old buckets lying around? Use them to store smaller items like twine, plant ties, or seed packets. Wooden crates or baskets can become perfect storage bins for larger items like garden hoses or gloves.
You can even turn an old shoe rack into a great space for organizing gardening shoes or small pots. Repurposing not only saves you money, but it also helps reduce waste—win-win!
Use Clear Containers and Labels
If you’ve ever spent 20 minutes digging around for one item, you’ll know how frustrating it can be. That’s where clear containers and labels come in handy.
Storing smaller items in clear, labeled containers makes it easy to see what’s inside without opening every box. You can use transparent bins for things like plant markers, screws, or gloves. Be sure to add labels to keep things even more organized.
By labeling containers and baskets, you ensure that when you need something, you can grab it without any unnecessary searching.
Keep Frequently Used Items Accessible
It’s always a good idea to think about how often you use certain items when organizing your shed. The tools and supplies you use regularly should be easy to reach. Place them on lower shelves, hang them near the door, or keep them in an easily accessible toolbox.
On the flip side, items you don’t use as often—like seasonal decorations or bags of soil—can go on higher shelves or in less accessible areas.
By prioritizing frequently used tools, you save time and keep your shed from turning back into a chaotic mess.
Install a Pegboard for Quick Access
A pegboard is a fantastic addition to any shed. With its customizable hooks and slots, you can hang everything from small hand tools to garden gloves. Pegboards keep tools off the ground and in plain sight, so you’ll always know where your most-used items are.
You can even add small baskets or containers to the pegboard for smaller tools or accessories. It’s a simple solution that adds efficiency to your shed organization.
Keep It Clean and Tidy
The key to maintaining an organized shed is regular upkeep. Once a month, spend a few minutes tidying up and putting things back in their designated places. Wipe down surfaces, check for any tools that need repair, and sweep out any debris or dirt.
A clean shed not only looks better, but it’s easier to work in. Plus, maintaining it regularly means you won’t have to do a huge overhaul every year.
Final Thoughts
Organizing your garden shed doesn’t have to be a daunting task. By decluttering, grouping items by category, and using smart storage solutions like shelving and pegboards, you can create an efficient and tidy space. Repurposing old items and labeling containers makes finding what you need a breeze. And, with regular upkeep, you’ll keep your shed clutter-free for good.
Disclosure: collaborative post
Thank you for reading - if you enjoyed this content, please consider buying me a coffee here or browse my Amazon wishlist I really appreciate your support and it helps to keep the site running and for my time 🙂